Tutorials / Everyday Workflows
Save and Reuse Window Layouts with Presets
Rebuilding the same window arrangement every morning is wasted effort. Tabbed Layout presets lock a monitor into a fixed set of panes, and each pane can hold several windows you flip between with tabs. This tutorial shows how to apply a preset and save your own.
Step by step
- 1
Switch a monitor to Tabbed Layout mode
Open the Stages Bar or Settings and set the monitor's Window Mode to Tabbed Layout. Unlike free-form windows, this mode arranges windows into fixed pane slots so the layout never drifts.
- 2
Pick a built-in preset
Choose a starting preset: Split View (two equal panes), Top / Bottom, Focus + Stack (one large pane plus a stack), or Four Corners. The windows already open snap into the preset's slots.
- 3
Group windows into tabbed panes
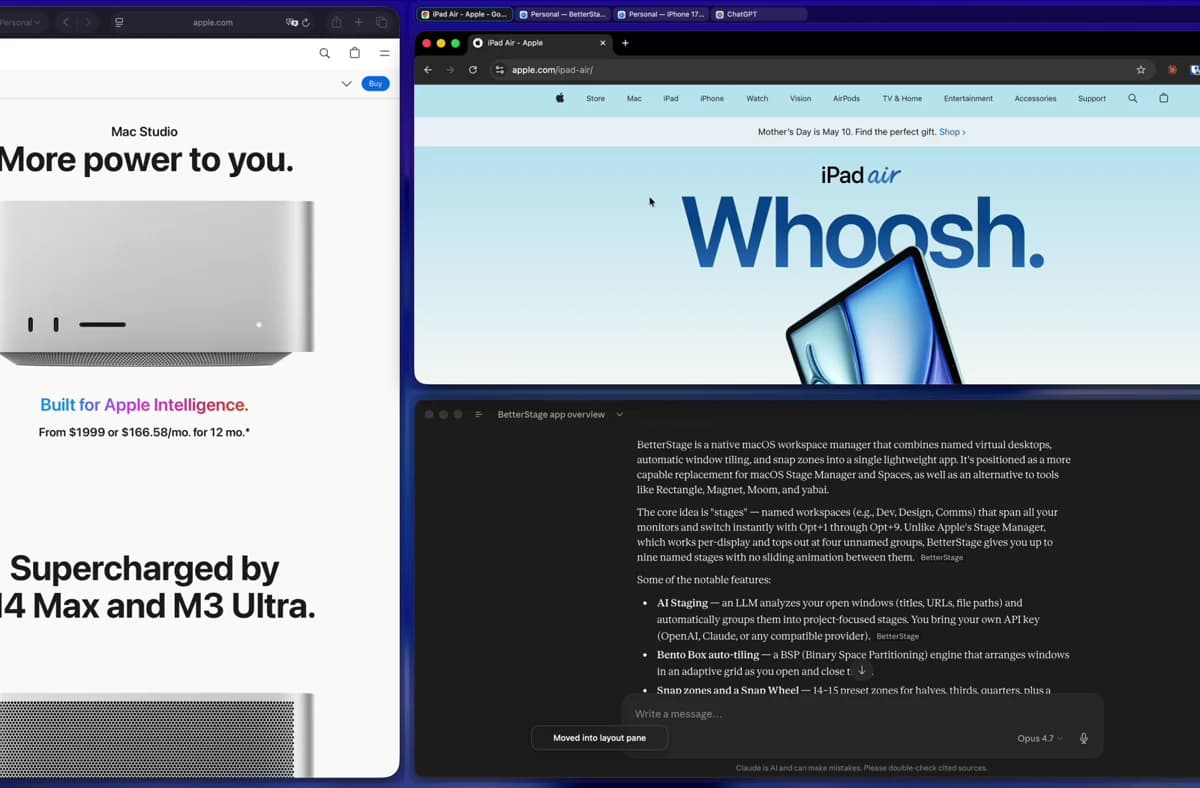
Each pane can hold more than one window. Drop several windows into the same slot, or use the pane's plus button / right-click menu to launch an app there. BetterStage opens a new window when the app supports it, or moves a suitable existing window into the pane. A tab strip appears at the top — click a tab to bring that window forward without disturbing the others.
- 4
Zoom a single pane to fill the screen
Need one pane at full size for a moment? From the pane's menu — or the Snap Wheel's adaptive slice, which reads "Zoom Pane" in Tabbed Layout — zoom it to take over the whole monitor. It's reversible: click "Restore Panes" to bring the full preset back exactly as it was.
- 5
Save your own preset
Once the panes are where you want them, save the arrangement as a custom preset. Set it as the default for new Tabbed Layout stages so every new workspace starts from your layout.
Tips
- Adjust container padding in Settings if you want tighter or looser gaps between panes.
- Pair a Focus + Stack preset with a Bento Box monitor: a fixed primary layout on one screen, automatic tiling on the other.
Frequently asked questions
What's the difference between a preset and Bento Box auto-tiling?
A preset is a fixed set of panes you place windows into — the structure never changes. Bento Box automatically tiles every new window into a non-overlapping grid. Presets are predictable; Bento Box is hands-off.
Can a single pane hold multiple windows?
Yes. That's the defining feature of Tabbed Layout mode — each pane slot can contain several windows with a tab strip to switch between them.
Is Tabbed Layout mode a Pro feature?
Yes. Tabbed Layout mode and Layout Presets are part of Pro, which includes a 10-day free trial. The free tier uses macOS Native mode and snap zones.
Try it yourself
BetterStage is free for up to three stages with full snap zones, and includes a 10-day trial of every Pro feature — AI Staging, Bento Box auto-tiling, Tabbed Layouts, and Pinned Displays.
Download BetterStageRelated tutorials
Build an Auto-Tiling Coding Layout with Bento Box
Turn a monitor into an auto-tiling grid — every new window snaps into place.
Set Up a Developer Workspace on Mac
Editor, terminal, browser, and docs arranged across stages with per-monitor auto-tiling.
Get the Most Out of an Ultrawide Monitor
Carve a super-wide screen into readable columns with thirds, auto-tiling, and presets.